In these tough economic times we all like to save money where we can. Here is a simple, cheap and quick way to make some wool string silencers.
First off we have to make a jig. This idea came from the video by Jim Parsons. Take a clothes hanger that has a cut-out for spaghetti straps and cut it to look like this.
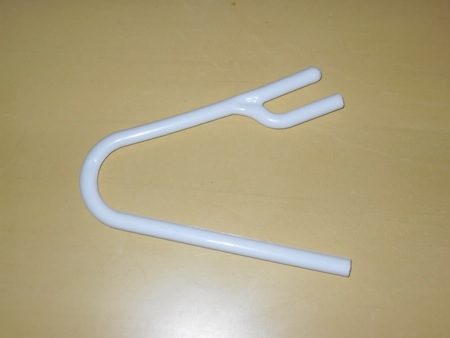
Sand the edges smooth so they don’t snag the yarn. So much for the hard part of this build.
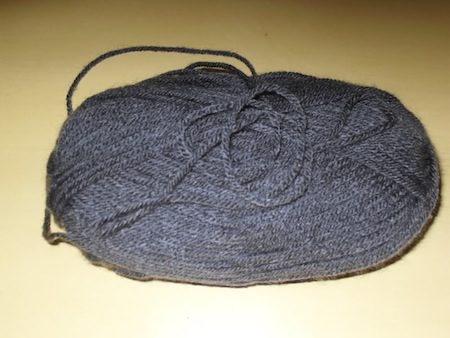
Buy 100% wool yarn from the craft store. You can choose any color you want; I’ve even seen some camo yarn. The yarn cost me a whopping $2.99 for 170 yards.
Using the jig, wrap about 25 to 30 loops, as shown.
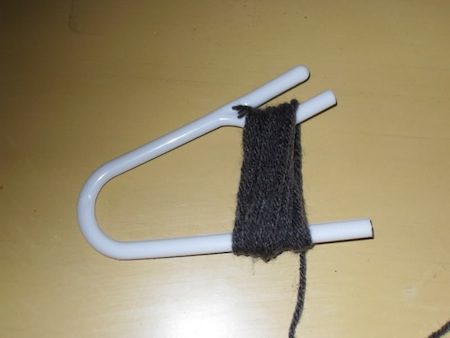
Once the loops have been done, tie them in the middle while still on the jig. Trim the tie ends, but do not cut the loops just yet. Squeeze the jig and slide the bundle off. Repeat the process to make another bundle.
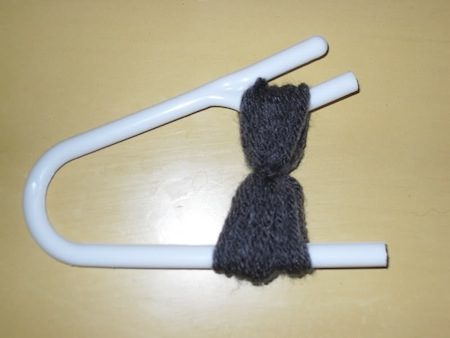
Separate the unstrung bowstring and place one bundle on either end of the string about 10 inches from the loops. Place the other bundle the same way on the opposite end of the string. String the bow, which will secure the bundles in place.
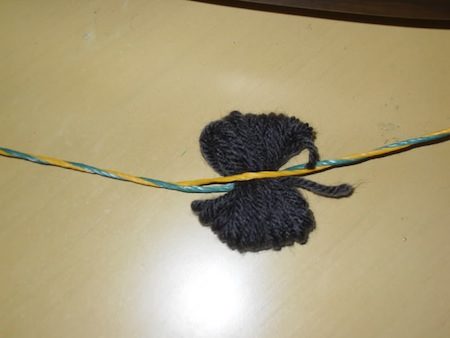
Being very careful not to cut the bow string, cut the loops so you have a lot of single strands. Note: For photo purposes the bow is not strung, but string the bow before you cut the loops.
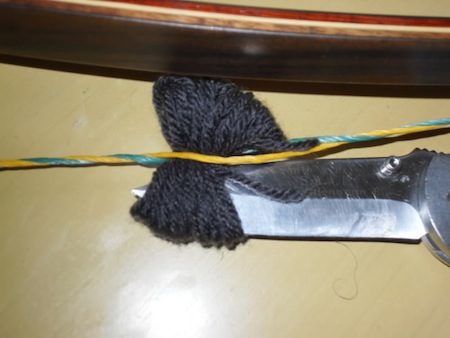
Shoot the bow a few times to get the silencers to expand. There you have it: nice homemade wool silencers. The estimated cost per set is mere pennies and five minutes of your time. It took me longer to do this write-up than to make the silencers.


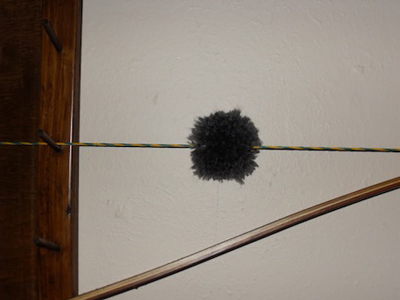


I really like the wool string silencer. I have made so many of these throughout the years. They work great and the best part is that you get to pick your colors. I do have to play around with placement though. Each bow will tune a little differently. On some bows I get the best noise reduction at 2-3 inches below/above the loop. Others I have to go between 4-5 inches below the loop. Wool is the key. Standard cotton yarns react differently when they get wet.
I have been shooting a Bear Patriot 64″ for several years. Rather noisy even with silencers. Everything I have read suggests placement of the silencers at the 1/4 or 1/3 points on the string, at the peak of the primary and secondary harmonic oscillations. Never tried placement at 2 – 5 inches from the end. Does this placement have the effect of dampening the vibration before it gets started? Any advice would be appreciated.
Wool silencers seem to work better for me than other furs in the rain. I wonder why you would suggest equal spacing from string ends. Wouldn’t placement at 1/3 and 1/4 string length be better at attenuating string harmonics? Is this for looks or empirically based? Thanks for this article.
Each of these tips are written by different people, with different ways of doing things. You can place them wherever they work best for you. Thanks for taking the time to read and comment.
Sorry, did not see rgrist comments.
pom pom wonderful idea
I use a 5″ square of cardboard, loop usually 28-30 times around, tie each side in the middle, then cut the loops, then place it in the bowstring. Also I’ll use 2-3 colors – loop the 1st 8-10 times, cut that one and switch to another color, do it again.
Regarding placement, I have found [at least to my old ears] slightly better results if the silencers are placed at different distances from each end, say, 4-6″ from one end and 7-10″ from the other.
How much does these slow the arrow speed?
Th;anks Paul
Hi Paul,
That depends a lot on your bow and arrow combination, but I don’t think they slow it by very much. You’ll just have to experiment and see if it’s something you can live with.
Robin
You dont need a jig or a tie in the center. Just wrap it around your hand 25-30 wraps and place the bundle in the string where you want it. String the bow and trim the bundles to length on each side. You can tie a thread around the bundle and string to keep its place when you unstring the bow but it’s not needed either. Puffs out when you shoot.
Thanks for that tip. I like the little jig. I’ve been making my silencers out of twine but I will make a jig and try wool the next time!
Thanks for this. It is genius.
It’s a nice idea if you like to fuss with things but you can do it much simpler by just wrapping the yarn around your hand the appropriate number of wraps. Insert the bundle in the string and trim the ends with scissors, equally on each side of the string, roughly 1.25 inches from the string. Another way of getting the skin off the cat.
I love the jig. I’ve been making mine without one but from now on I’ll use that jig.
I make my own silencers from this post. However, not all wool is the same. I have red wool that is very open spun. My green is a tighter woven which makes a better silencer. Choose your wool carefully.