

In an issue of Traditional Bowhunter Magazine (TBM), Billy Berger had an article on how to make broadheads similar to the early trade points that were traded to Native Americans. (TBM Oct/Nov 16) The article explained how to cut these broadheads from circular saw blades. While Mr. Berger’s methods would probably produce a useable trade point type broadhead, my experience working with steel and as a blacksmith allows me to offer some advice that would make the process more likely to produce a quality broadhead that would efficiently take big game.
I assume Mr. Berger suggested using circular saw blades, in part anyway, because of the quality of high carbon steel these blades are often made from. High carbon steel, as opposed to mild steel and for all practical purposes stainless steel, can be hardened and tempered by using heat and a quench of oil or water. Books have been written on hardening and tempering steel, but in the interest of keeping this article reasonably short, I’ll keep it simple. As in many things, there are exceptions, and I’ll be working mostly in generalities here that will help you produce a quality, hard, and durable broadhead.
There are three processes to keep in mind when working with high carbon steel – annealing, hardening, and tempering. Each of these processes involves heating the metal to a certain point and cooling it at a certain rate. Annealing is a process that makes the metal as soft and easy to work as possible; hardening makes it as hard as possible (though often very brittle); and tempering is a process that keeps the metal hard but arranges the molecules in such a manner that the metal is less brittle and more “relaxed”.
The first step would be to acquire all the necessary equipment and tools: safety glasses, gloves, pliers or blacksmith tongs, 4 1/2 inch grinder and cutting wheels, hack saw, vise, heat source (forge, charcoal grill, cutting torch, propane torch, or hot bed of hardwood coals would all work for this job), grinder, file, sharpening stone, about a quart or two of cooking oil in a metal container with a lid, fire extinguisher, and a used carbon steel circular saw blade, preferably one without carbide tips.
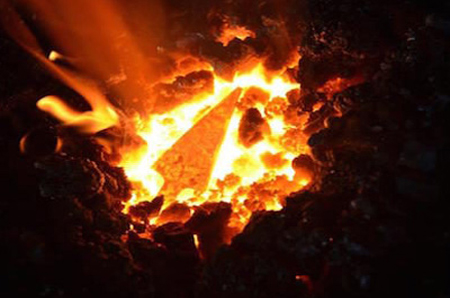
To make the saw blade workable and lessen the danger of injury while cutting it, it is important to anneal the blade. This is accomplished by first heating it to the “critical temperature” which is a red/orange color and the point at which the metal is no longer attracted to a magnet. Immediately remove the hot metal from the heat and bury it in warm sand or ashes and let it cool slowly – a few hours is best. Once cooled to the touch, the blade should be at its softest, and you could probably cut it with a hacksaw, but a 4 ½” grinder with a thin cutting wheel makes the job go very quickly!
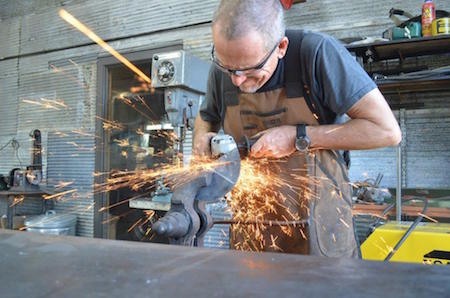
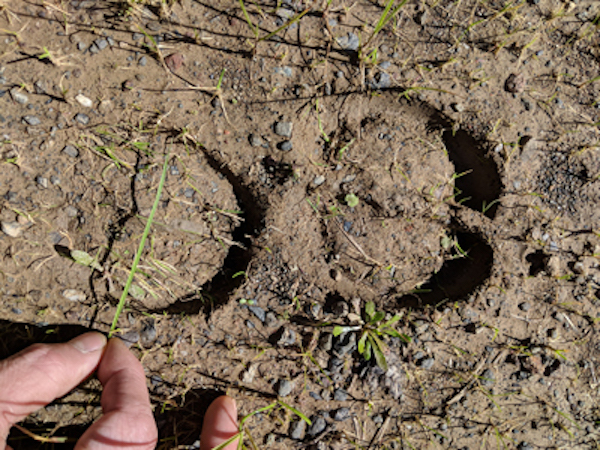
After cutting the desired shapes of trade points, they can then be ground to their final shape, profile, and edge bevel, but not sharpened. Also, at this time make sure the points are straight and of equal weight.
Now it’s time to harden the points. Get everything you’ll need for this step together beforehand as you have to move fairly quickly when you remove the points from the heat and immerse them in the quench. Gather your tongs or pliers, container of oil, gloves, safety glasses, fire extinguisher, and heat source. Be extremely careful with this entire process as you’re working with flammable liquids and red hot metal! Doing this outdoors, well away from flammable materials would be a good idea – again, wear safety glasses throughout this entire process!
Begin by again heating the points to their critical temperature (red/orange) and immediately quench them in the oil. This will cause smoke and perhaps flames, so be careful! The metal is now hardened! You can check the hardness by running a file or hacksaw over the blade; it should just skid off and not cut into the metal. (If the blade isn’t hard, you may try re-heating and quenching in water; if it still doesn’t harden you may not have high carbon steel, or it may be an air hardened steel.) The metal is as hard as it can get, but will be brittle and could contain internal stresses. Do not try to bend or straighten it now, or even drop it – it may break. You need to temper the metal to make it useable.
Tempering is also a heating and cooling process, but not to the high heats of hardening. Proper tempering will keep the metal hard, but also make it much more durable.
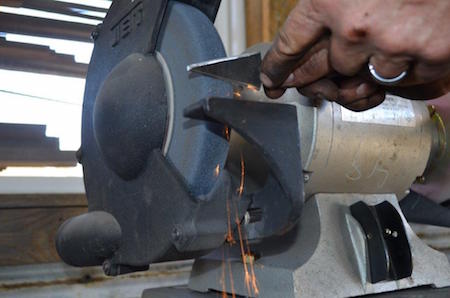
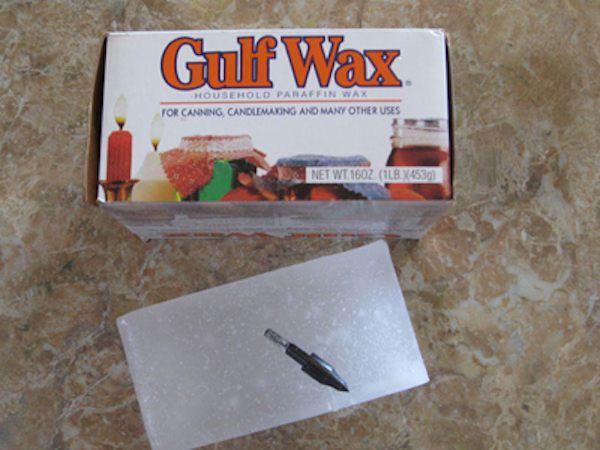
The first step is to polish the metal slightly so you’ll be able to see the “temper colors” as they run across the metal. You can do this polish with emery paper, a piece of a grinding wheel, or even a file or wire brush – you just need to be able to see the bare metal. Get your quenching oil nearby and slowly heat the back of the blade (where it attaches to the arrow shaft) with something like a small propane torch. You don’t need to heat it red hot, you’re heating to about 800 degrees, just slowly heat it until you see the temper colors of yellow, straw, blue, etc., begin to form at the edge of the heat. Carefully run the heat over the blade until the straw color “runs” to the cutting edge and tip of the broadhead, then immediately quench it. Do this process very slowly and carefully because if you overheat the metal you need to go back and re-harden it.
The trade points should now be hard and tempered and ready for final sharpening and use. Be careful if you sharpen them on an electric grinder, as any time the metal heats to beyond where you can see the temper colors develop, you’ve taken the hardness out of the metal.
As a final tempering process, and a way to give the heads a nice, grey color, you can place them in a cool oven – kitchen oven or toaster oven – and bring them up to 400 degrees and hold that heat for 30 minutes to an hour, then turn the heat off and let them slowly cool as the oven cools.
Sharpened to a razor’s edge, these points are far superior to the mild steel trade points they mimic and should be tough enough to take any game that walks this planet.
-
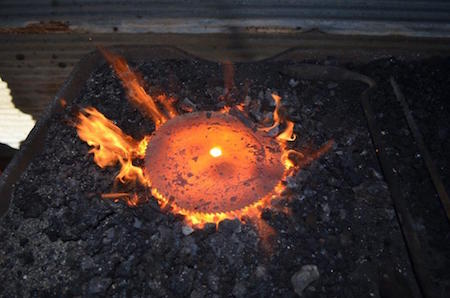
- Heating the saw blade.
-
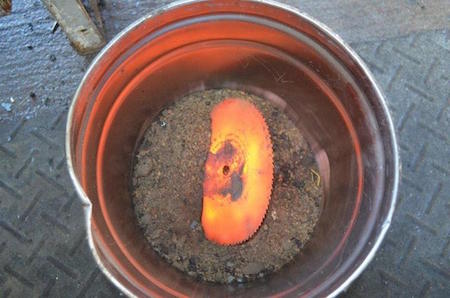
- Annealing the metal
-
- Cutting broadhead blanks
-
- Grinding the edge
-
- Heating the metal.
-
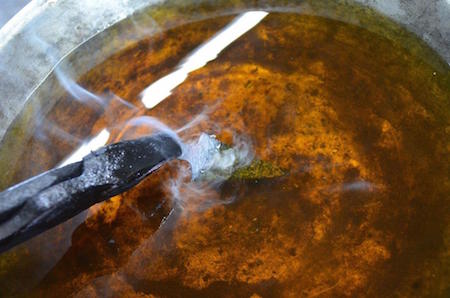
- Hardening the metal
-
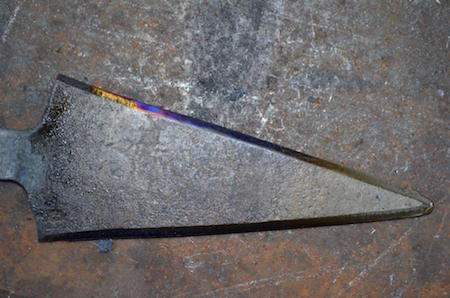
- The temper colors

Leave A Comment