
Home › Forums › Bows and Equipment › Arrows (attempted build-along)
-
AuthorPosts
-
-
Started some “new” arrows this weekend so I thought I would do a build-along because of recent threads….
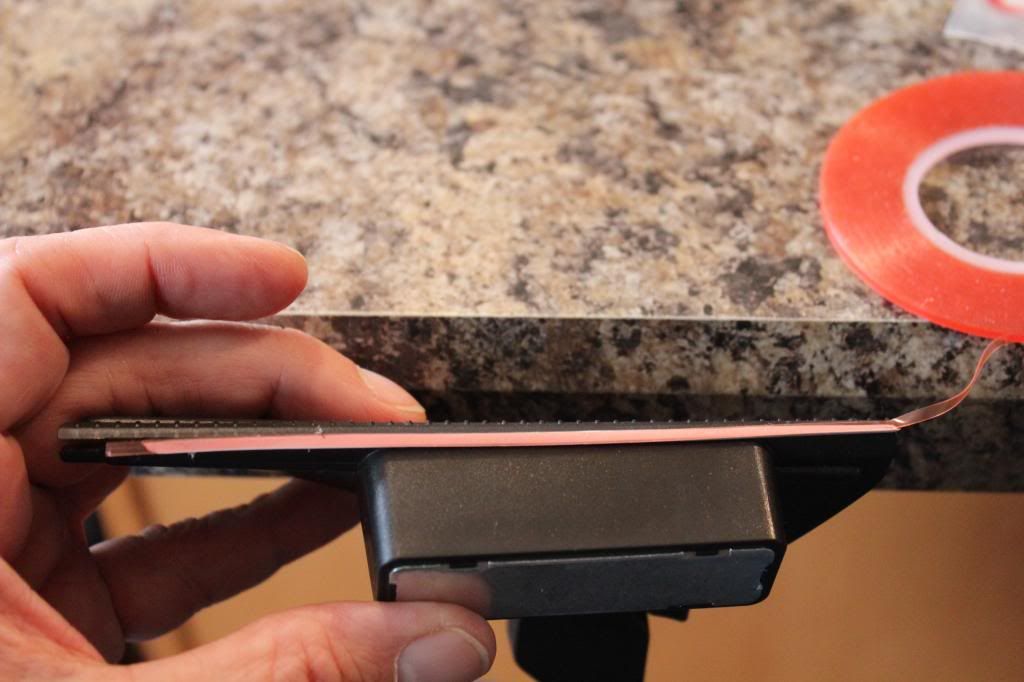
Tools and materials that I have collected, made, and use.

gorilla superglue, nocks, scale, cutters, taper tools, fletch tape

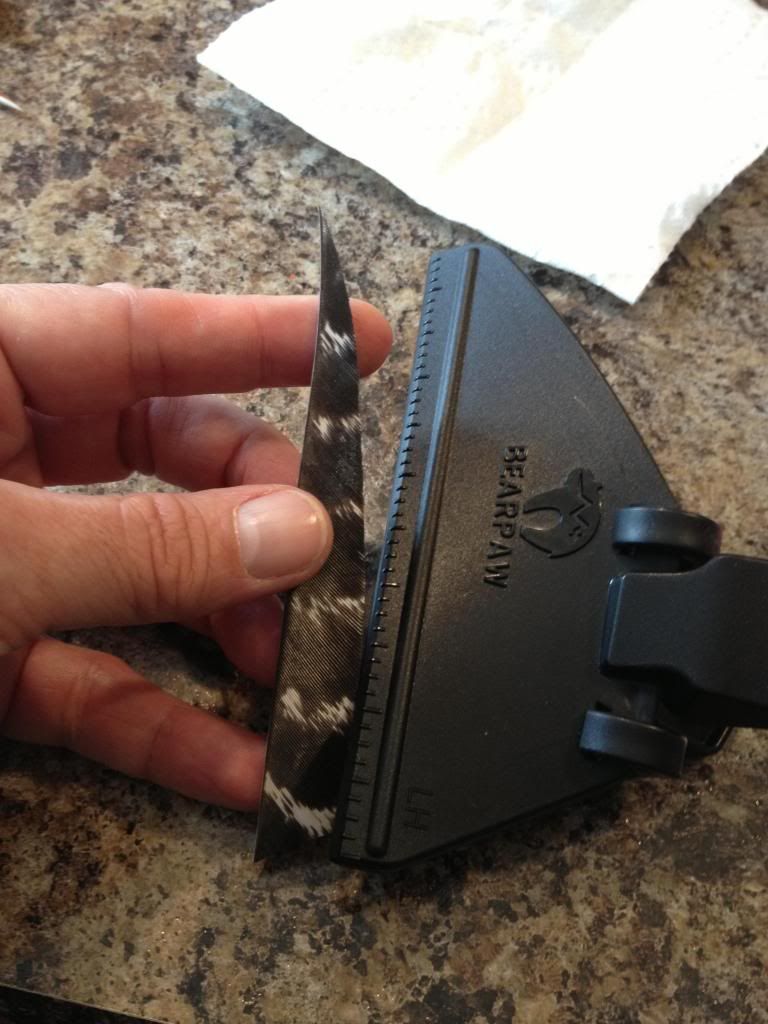
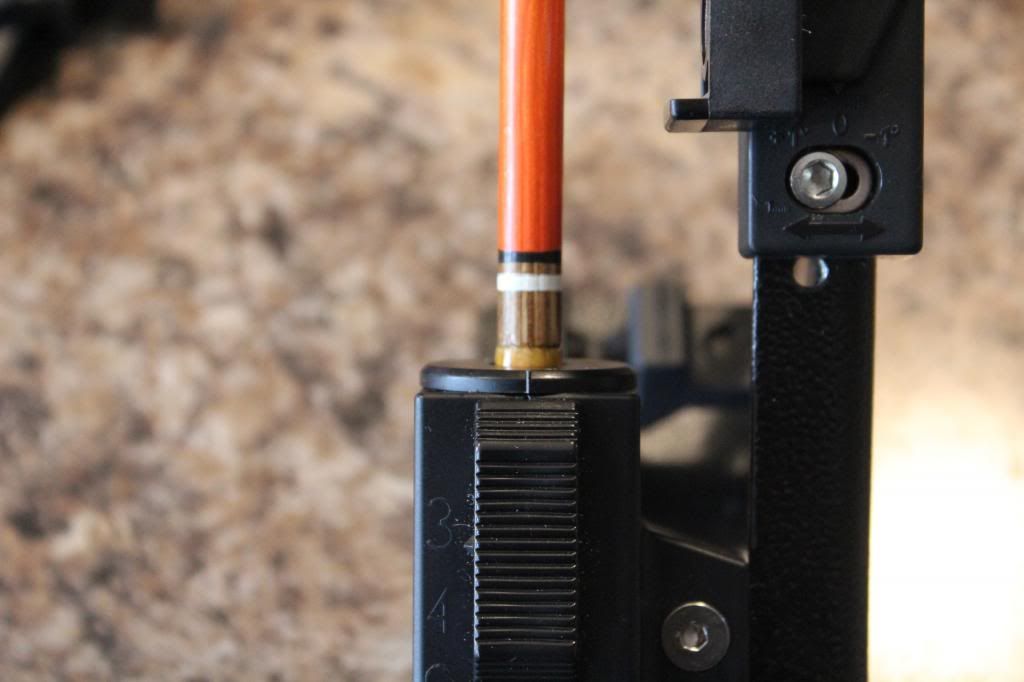
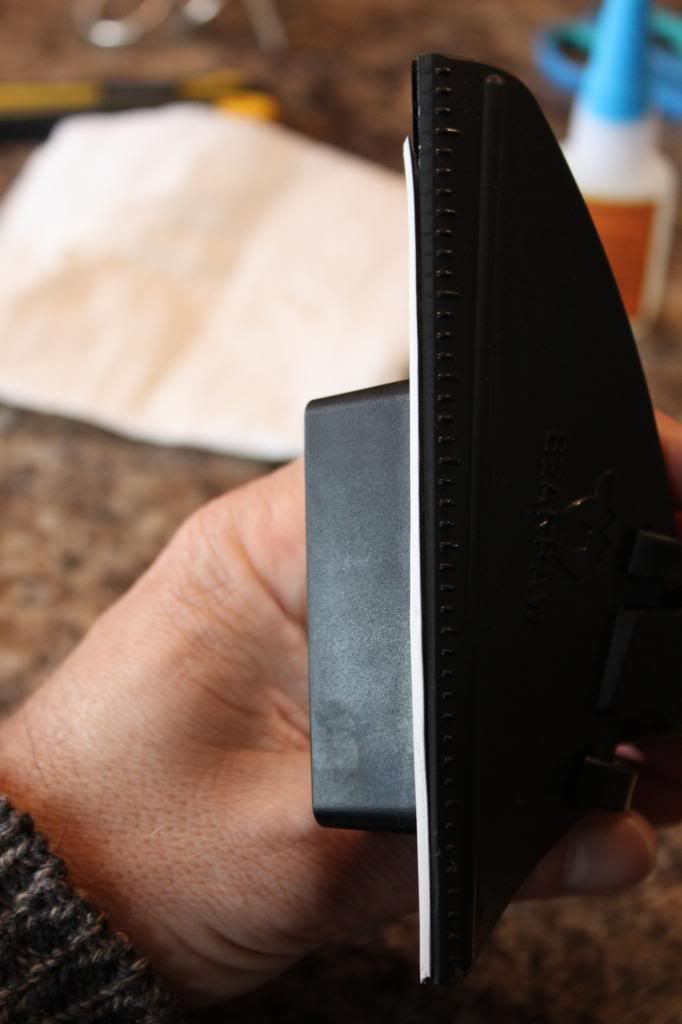
Fletching jig (bearpaw), and a crowning jig I use for aligning the dimensions for the crown and cresting.

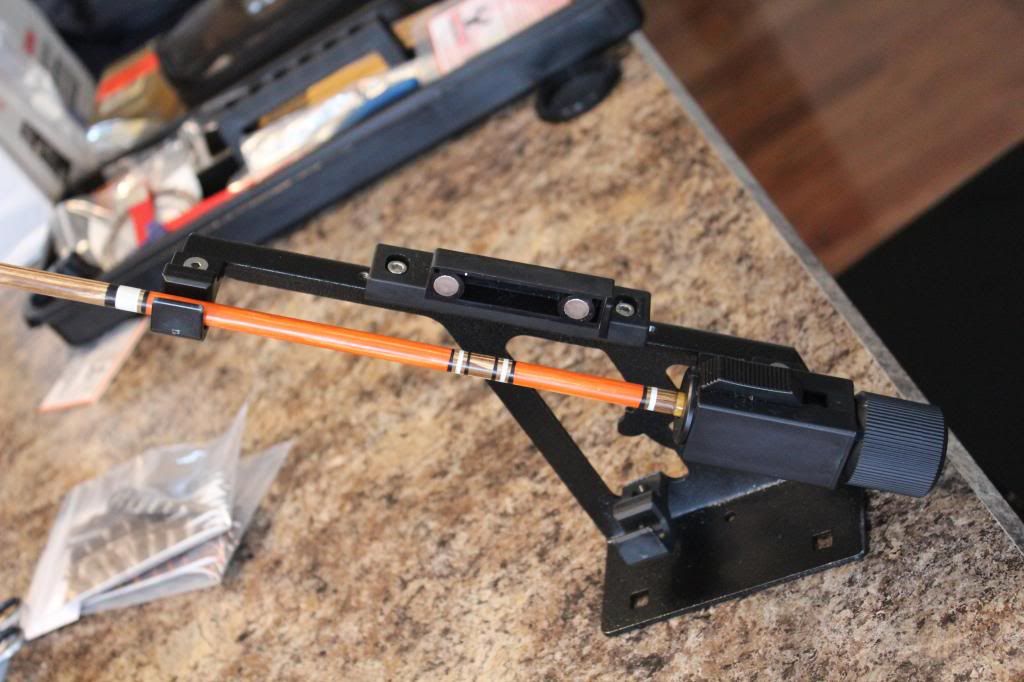
This is my homemade cresting jig (some 4x1x36″ pine and battery powered screwdriver
-
tape off areas of the arrow. I use the 3M blue painters tape

arrows taped off and ready for crown

painted crown

in the dryer

once the paint dried tape off again and I applied stain to the taped off areas from before

make sure you seal the tape ends really well esp. with stain as it can bleed on you

-
arrow in the cresting jig ready to crest


black paint applied. I like to work from dark to light color paints because if I do white first then it seems to show through the darker colors and I have to apply more coats

applying the white now. I push my knuckle against the arrow to help “smooth” the rotation. Rolls more evenly and takes away some of the “wobble”

-
Wow! Awesome. Thanks! Now, question is, after this, you apply the clear-coat / sealer? What is your average GPI? How much does the paint / sealer add to the spine? Again, thanks for taking the time. I don’t think my first set will be anything but a single-paint, no crown / crest jobbie, bit I will move on from there. Be well.
Alex
😉
-
Sorry, Alex but some of your questions are beyond me.
GPI??
Just trying to figure out spine myself.
On the other hand I was a paint contractor for over 10 years.
I use floor varnish (fast drying – the faster it dries the less dust attaches to it), Stain with a rag. Dry for 24 hrs. Dip them in a pipe half full with varnish thinned with mineral spirits by about 25%. Put pantie hose over the top of the pipe, and dip the arrows thru a small hole in the panties. That way you won’t have sags, or bubbles. The stain will “raise the grain” so the varnish will have something to grip. Otherwise you may want to rough the shafts up a bit so the stain can get some bite (skotch brite, just so they don’t shine). I like the way he dries them with the holes in a block of wood, I like to put a 12 ga insulated wire (from romex) between 2 chairs, the nock fits just right, and they can hang.
NEVER shake varnish.
Nice to know I am not the only one that does this stuff in the kitchen.
REMEMBER: Protect the counter/floor. Easier than cleaning up, and the sooner you clean up the drips the easier. And you WILL drip.
-
Alex, the raw shafts 32″ are around 396-398 grains, and the finished arrows weigh in around 544-546 grains with a 125 grain field point, 3 five inch shield cut feathers, and I cut the arrow to 29.5 bop. I apply 5 to 6 coats of the wipe-on.
I honestly have not yet had to straighten one of these shafts! So I have not much experience with that. I have straightened bamboo that is easy…
The green scotch brite pad sounds interesting. The steelwool has been working really well with no slivers so far, and no rust.
Why would you need to use acetone? I have not used that before.
The wipe-on poly dries very quickly for me and if I get at it early enough I can get two coats in one day.
I’ll try and get some more pictures up later. I was having some troubles with photobucket earlier so I could not get a pic of the cresting finished look.
-
Wolf,
Sorry about that. It looks like you already figured it out. By the looks of the arrows, I assumed 😳 you were the arrow-building equivalent of an “old salt” and therefore knew every acronym real or made up 😆 .
It’s Grains Per Inch. I am trying this spine calculator thingy and want to see how close it is to what I actually get. Anyway, thanks for the posts. Love the arrows. I only hope mine look half as good (and work). Be well.
Alex
😀
-
Alex, no need to apologize! 😉
I think it was Grumpy who was askin about GPI.
I am old and probably sometimes salty, but I am a Greenhorn when it come to the Traditional Archery thing.
I have been reading and listening to the much smarter and more experienced people on this site and another trad site I frequent. I don’t think I have had an original thought in my life but, I can copy real well! 😆
Have put in a bit of trial and error too!
As far as if it changes the spine I really can’t answer that. Just don’t know…
My arrows have come out straight, I like how they have looked so far, they shoot well, and once I get my bow tuned to where it should be I hope they will shoot even better.
I have a lot to learn. I have learned a lot from this site and the wonderful people on here and reading responses from people like yourself. Thank you for sharing your knowledge, and I am just sharing what I have done and hope that it helps someone too.:D
Thanks for the compliments.
-
Wolf,
Darn, my bad again. You are correct. That was meant for Grumpy. Keeping track of posts AND names is a bit tough at my age 😳 . Thanks again all for the updates. Probably going to start my first set (from 5/16″ dowels I have laying around, it’ll be for the kids’ bows) end of next week. Hope to have some pics one day. Be well.
Alex
😀
-
Nice crafanship.
-
Very good looking arrows . I like the progressive story and pics .
Anxious to see a pic of the fletched ,,,at full draw .
I have always intended to switch over to wood but just never got around to it . Even built a cresting jig back in the ’80’s . Wood in my opinion always makes the best looking arrow.
-
Sweet! Good stuff! Love the ctresting jig!
-
Wolfshead wrote:
Why would you need to use acetone? I have not used that before.
Acetone is a GREAT solvent. It will clean off anything that might hinder the performance of your finishing products.
But be careful. It will disolve some things you may not want it to, like plastic!
And if you use it in an unventilated room, you’ll soon discover another use for the stuff :shock:, although you may not remember it later…
(Seriously, the stuff can fry your brain and is a popular inhalant. That’s POPULAR, not WISE. Heed all warnings, etc.)
-
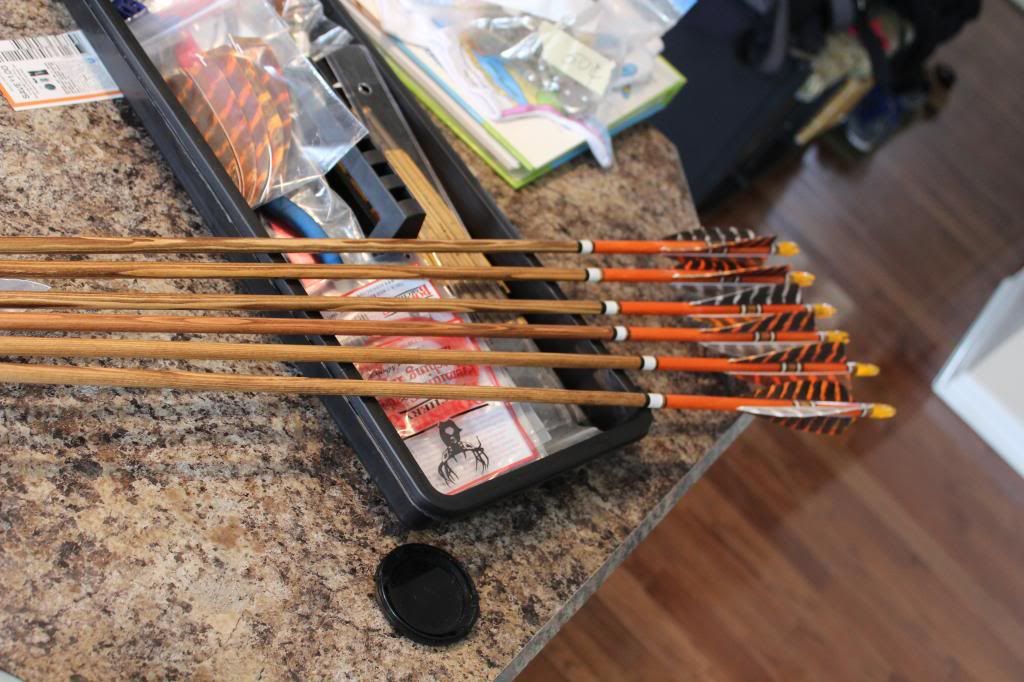
Lets see if we can finish this off….
I ended up with 6 coats of min-wax wipe on poly on each shaft. Sometimes I go with less but it just felt like it needed that last coat to me. I wanted to get a heavy orange stain effect for the crown and I think I got it.
Here are the shafts all ready for fletching.


Got my materials and tools all ready so here we go

some gorilla glue on the end for the nock

place the nock on with the grain. The “V” of the nock should be perpendicular with the grain

you can see how the grain runs on the arrow

run outs points forward

nocks all on and you can see now how they orient with the grain of the shaft

-
Now to the fletching.
After the nocks are all dried putting the index fletch in the jig
get the arrow aligned in the jig and make sure the index mark is forward. you can see the little line on the jig indicating that.
back of the feather aligned in the jig
make sure each end is where you want/need it before moving on.
Add fletching tape. I use Bohnings and I have had great results.
I run my finger nail down the tape to secure it to the feather.

a little extra on the ends to make sure.

The top end I stick to the jig to help get the plastic coating off. Be sure to “unstick” that end BEFORE you put the jig to the arrow!!!

-
Now I put the fletch to the arrow with the jig
Go slow and make sure everything is aligned correctly!

index fletch on!

I run my thumb nail down the edge of the fletch to make sure it is all secure.

cut off the extra tape

back in the jig for the next fletch

turn the dial

three fletching on


dab of glue on the front of each feather

dab of glue on the back

Finished product.
I lay them flat so the glue does not run until the are almost dry then I can put them in the drying rack…
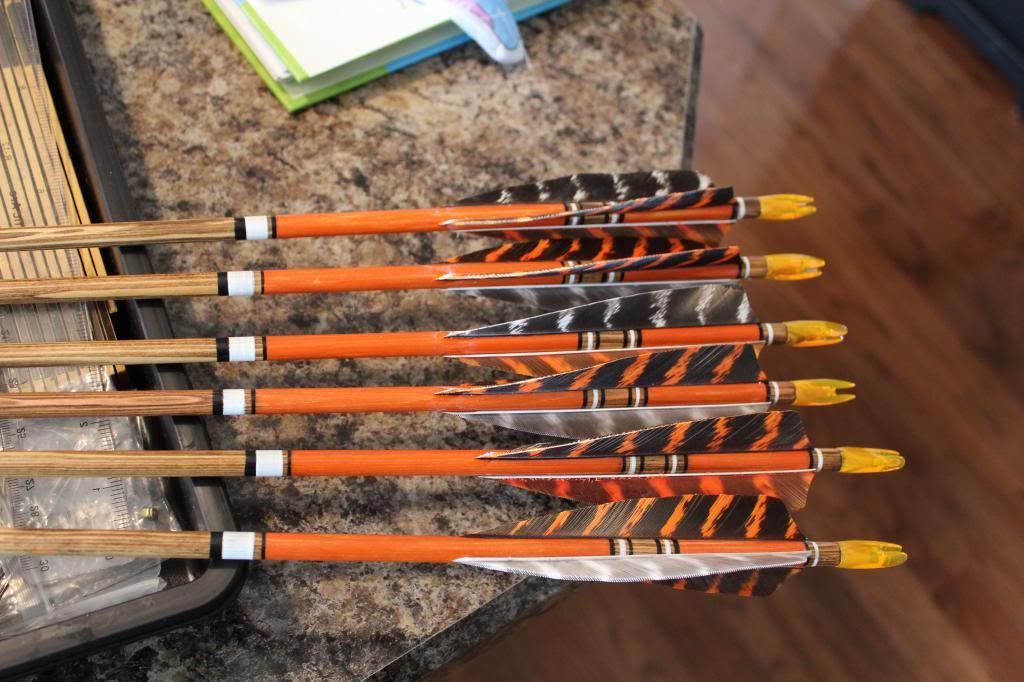
Thanks for watching!
I hope that this helps someone. It really is a lot of fun and one of the reasons I really enjoy Traditional Archery.
-
A)Beautiful
B)Thanks!
C)What kind of finish? (I LOVE fletching tape, but have heard it doesn’t do well with some sealers.)
Be well.
Alex
8)
-
Beautiful sticks !!!
-
That was a great step-by-step. Thanks for sharing!

-
-
AuthorPosts


- You must be logged in to reply to this topic.